Description
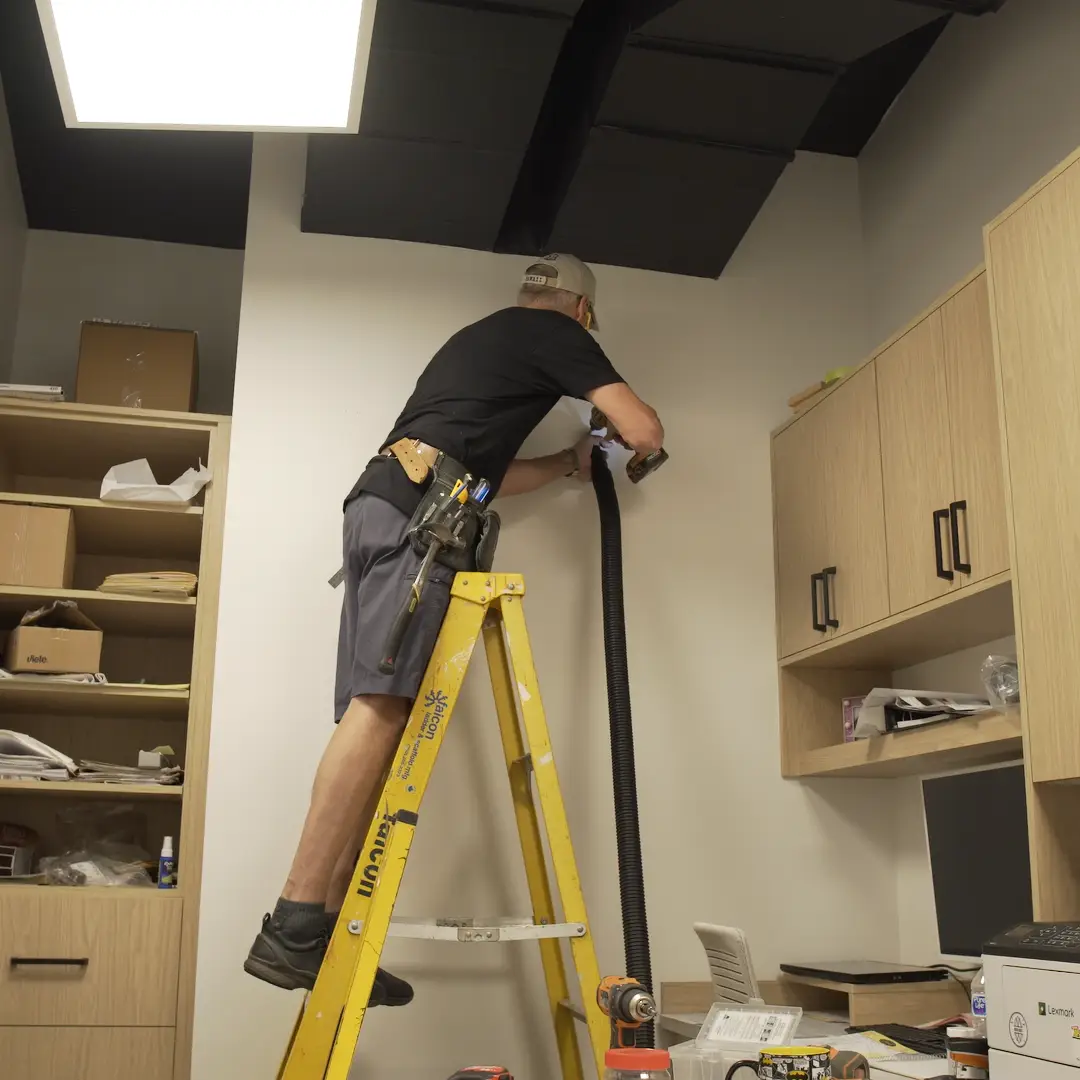
Sound Camel installs acoustic panels on walls and ceilings, as well as hanging acoustic baffles on ceilings throughout Canada. For bass blocks and corner traps, no wall attachment is usually needed. When we deliver these in person, we’re happy to stack them for you in your space at no extra charge.
Choosing Wall Cleats
Mount acoustic panels on walls in any orientation with one of the three french cleats below.

Camel Cleat™️
Easy to install and mount vertical panels on walls with one cleat or horizontal panels with two cleats.

Vertical Cleat
Mount acoustic panels vertically on walls. Locks panels in place.

Horizontal Cleat
Mount acoustic panels horizontally on walls. Locks panels in place.

Mounting Acoustic Panels
(With Camel Cleats)

Step 1
Screw the included Camel Cleat to the wall at the desired height.

Step 2
Mount the acoustic panel by sliding it onto the french cleat from the top.

Step 3
Enjoy! Repeat the process until the desired level of attenuation has been achieved.

Mounting Acoustic Panels
(With Vertical Cleats)

Step 1
Install the included french cleat on the wall or ceiling at the desired height and spacing.

Step 2
As viewed from the back, mount the acoustic panel by sliding onto the french cleat from the side.

Step 3
Enjoy! Repeat the process until the desired level of attenuation has been achieved.
Types of Ceiling Cleats
Secure cloud and acoustic panels to any ceiling type.

Vertical Ceiling Cleat
An easy to install single ceiling cleat. Suitable for flat ceilings and vertical mounting on angled ceilings. These are the same as the vertical cleats above, just used in a different location (ceilings).

Horizontal Ceiling Cleats
Suitable for flat ceilings and horizontal mounting on angled ceilings. These are the same as the horizontal cleats above, just used in a different location (ceilings).


Reviews
There are no reviews yet.